Your O-Level Oral exam consists of two parts: Planned Response and Spoken Interaction. For the Planned Response section, you will watch a one-minute video and then have 10 minutes (including the viewing time) to prepare your response to a question shown at the end. This preparation time is your secret weapon. It gives you the chance to organise your thoughts and create a strong, impressive answer.
Ready to ace this segment? Here are 5 steps that will help you score high in Planned Response.
1. Analyse the video
Remember, you can watch the video multiple times, pause it, and rewind as needed. Use this flexibility to your advantage and don’t rush through your first viewing.
2. How to Plan Your Response
Once you have finished watching the video, it’s planning time. You don’t have much time. With only about 5 minutes left for planning, writing in full sentences is a waste of precious seconds! Use short forms and abbreviations instead. For example:
✗ = no/negative
✓ = yes/positive
& = and
bc = because
w/ = with
w/o = without
∴ = therefore/conclusion
→ = leads to/results in
↑ = increase/improve
↓ = decrease/worsen
🙂 = positive/good/happy
🙁 = negative/bad/sad
esp = especially
eg = for example
govt = government
ppl = people
info = information
impt = important
diff = different
No one else will see your notes. Not your teacher, not the examiner. These notes are purely for your eyes, so as long as you understand what you have written and can speak confidently from them, you’re good to go.
3. Have a Structure for Your Response
The PEEL Structure:
- Point: Start with a direct, clear response to the question. Make sure your main idea is immediately obvious to the examiner.
- Explanation: Expand on your point by explaining it in more detail. Why do you hold this view?
- Evidence: Support your answer with concrete evidence. This could be a fact, a statistic, a current event, or a relevant personal experience.
- Link: Connect your point back to the question or transition smoothly to your next point.
The SCARE Structure:
This structure works particularly well for questions that require you to take a stance or present an argument (common in expository or argumentative type of oral questions):
- Stand: Clearly state your position on the issue.
- Counter-argument: Acknowledge an opposing viewpoint. This shows the examiner that you’ve considered multiple perspectives and aren’t just presenting a one-sided argument.
- Rebuttal: Explain why your position is stronger than the counter-argument.
- Link: Reinforce your original position and connect back to the question.
4. Rehearse your Response
- Repetitive points that can be merged
- Overly detailed explanations that can be simplified
- Weaker arguments that can be dropped entirely
- Unnecessary filler words
Remember, a good response is not necessarily a long one. As long as you directly answer the question, develop your ideas clearly with evidence, and stay within the time limit, you’re on track for a strong score.
5. Body Language Matters
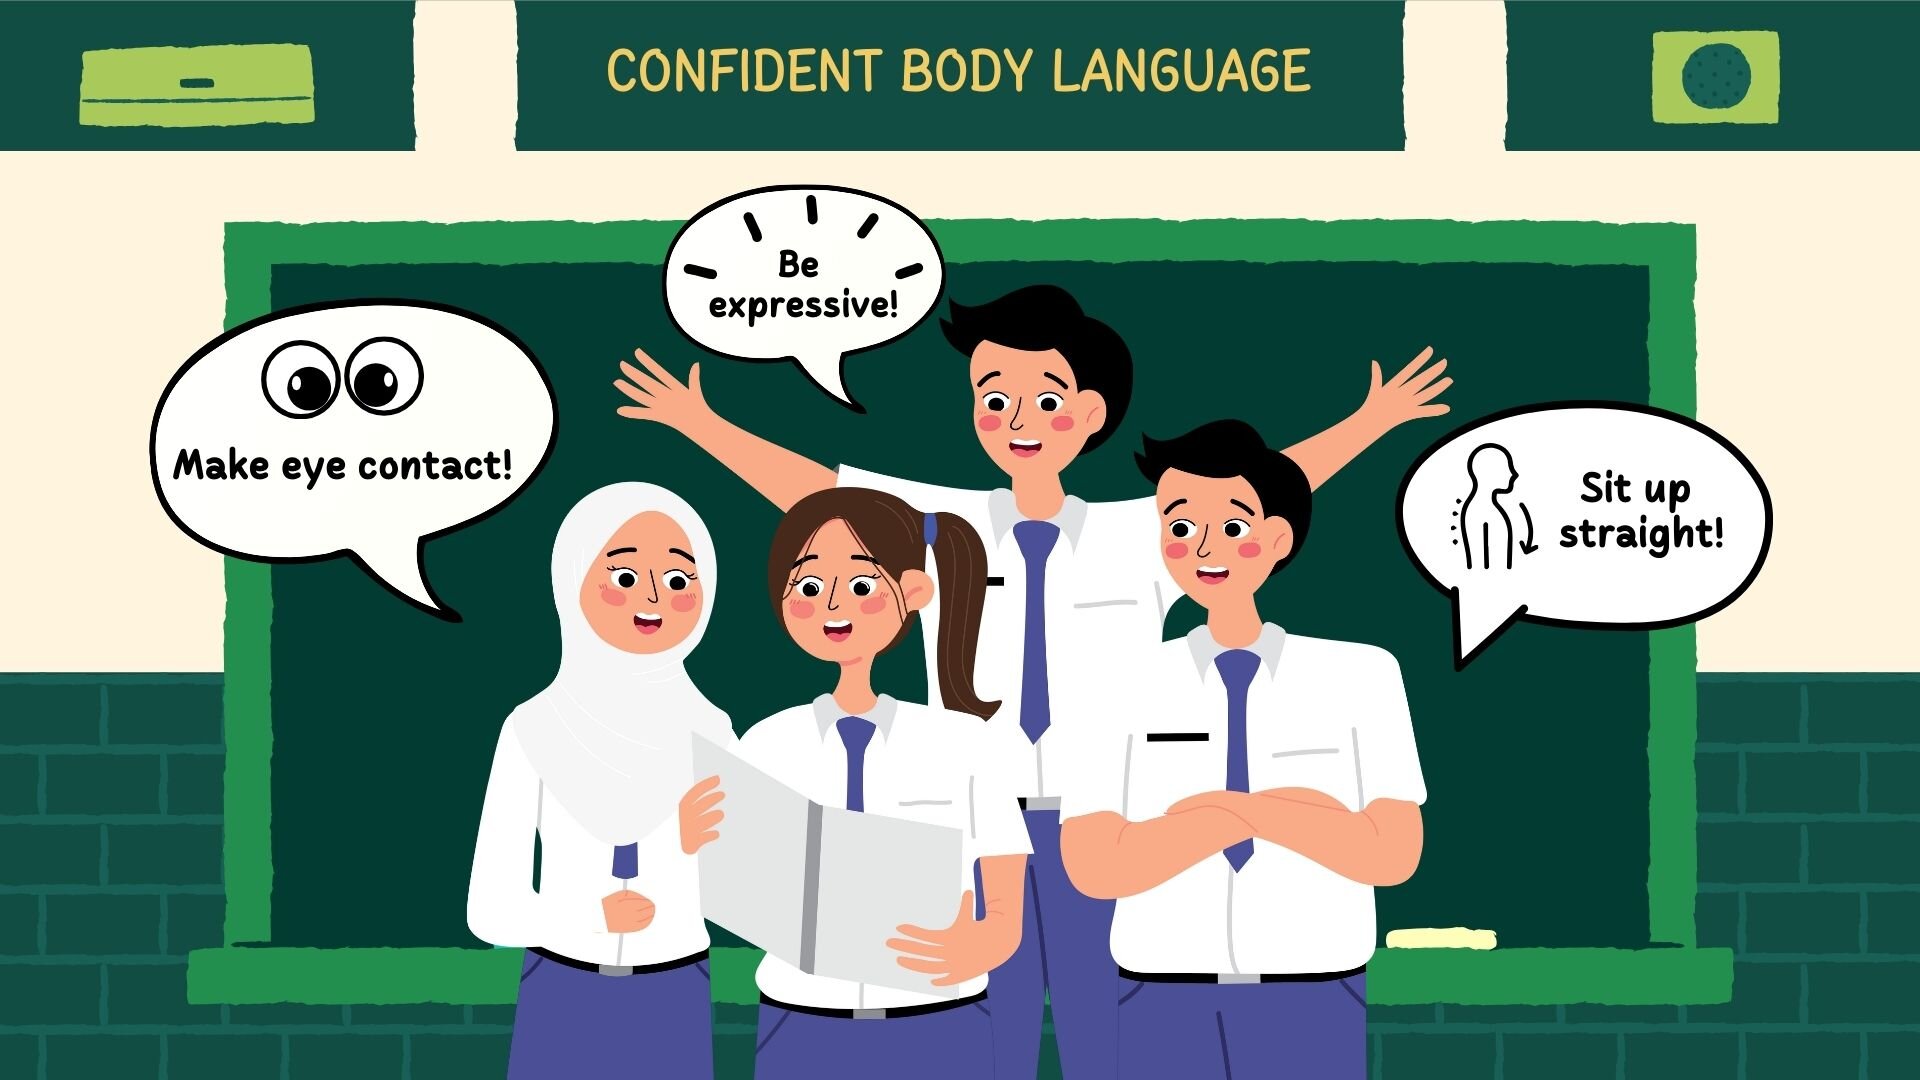
Present yourself confidently:
- Posture: Sit up straight with your shoulders back. Good posture naturally projects confidence and helps you breathe better.
- Eye contact: Maintain natural eye contact with the examiners. You don’t have to stare intensely as that would be uncomfortable for everyone. Just look at them regularly as you speak.
- Use your notes wisely: Your notes are there to guide you, not to be read verbatim. Glance down occasionally to remind yourself of your next point, but don’t bury your face in them.
Speak Effectively:
- Pace: Speak at a steady pace. If you find yourself speeding up, take a breath and consciously slow down.
- Tone and expression: Vary your tone to match your content. Sound enthusiastic when discussing positive points, concerned when addressing problems, etc. Monotone delivery, even with great content, is less engaging.
- Clarity: Enunciate clearly. Don’t mumble or let your voice trail off at the end of sentences.
Final Tips
Prior to exam day, you should familiarize yourself with common themes that frequently appear in the Planned Response section, such as technology, environment, education, health, social issues, and youth development. The more you expose yourself to these topics, the more comfortable you’ll feel discussing them under exam conditions.
One of the best ways to prepare is to review past years’ O-Level oral questions. We’ve even included model responses for the 2024 O-Level Oral here! Practicing with real exam questions helps you understand the format, identify patterns in what’s being asked, and develop your ability to think critically about various topics.
Need guidance on how to craft strong responses? We’ve got you covered. Our O-Level Oral e-book provides model responses that show you exactly how to structure and deliver excellent answers. Even better, there is an audiobook version available, so you can listen on the go whether you’re commuting, exercising, or just relaxing.
Want expert guidance? WRITERS AT WORK offers enrichment programmes specifically designed to help you excel in your O-Level oral examination. Our experienced teachers provide targeted guidance, practice opportunities, and feedback to ensure you’re fully prepared and confident on exam day. Learn more about our programmes here.

Frequently Asked Questions
Q1. Are Oral marks really important for English O-Levels?
Yes. Oral examinations make up 20% of the total English O-Level assessment, which means doing well for Oral can meaningfully improve your final grade.


